Beginner3D Printing
Prepare a CAD Model for 3D Printing
Export, repair and slice an STL so the printed part matches the design intent.
Estimated completion: 30 min
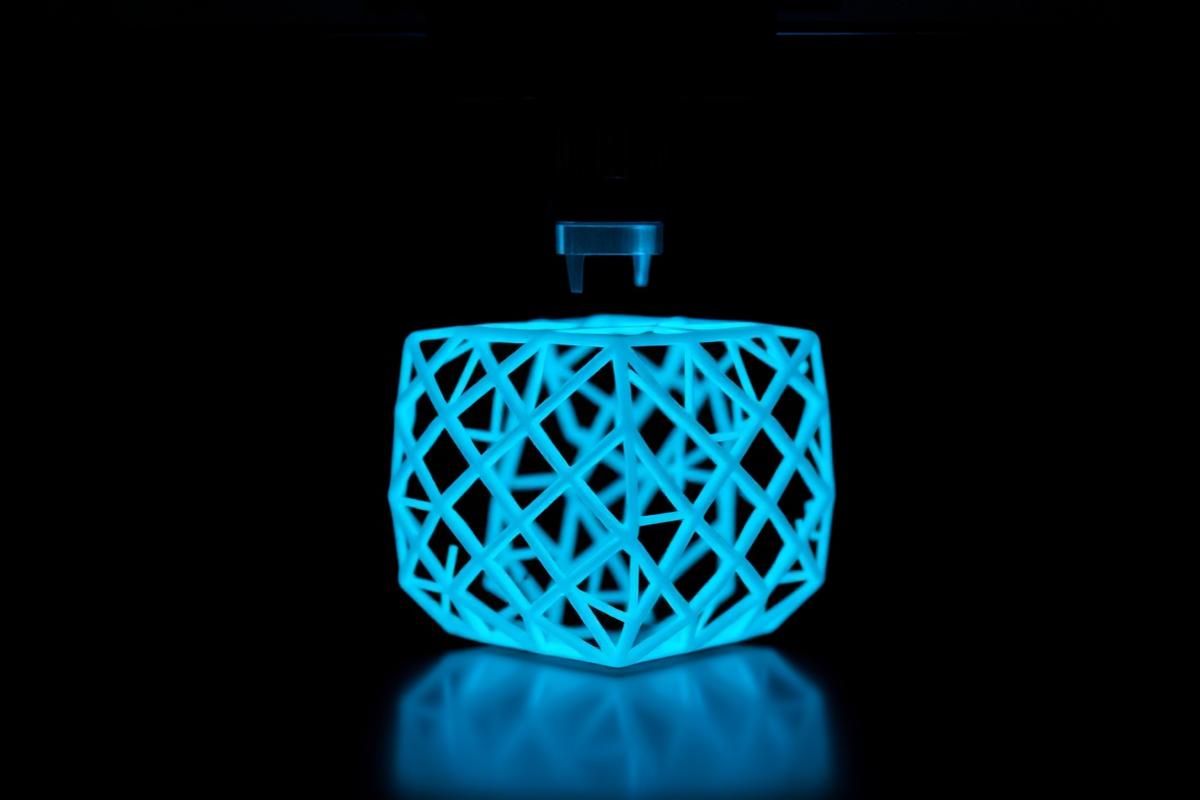
Objective
Produce a watertight, correctly oriented STL and a slicing profile suited to a functional part.
Required knowledge
- Basic CAD experience
Software and tools
- Any CAD tool
- PrusaSlicer or Cura
- Mesh repair tool
Files and resources
- Example CAD file
- Slicing profile
Step-by-step instructions
- 1
Check wall thickness
Confirm no wall is thinner than two nozzle widths, otherwise the slicer will skip it.
- 2
Export with sensible tolerance
Set the chord tolerance small enough for smooth curves without producing an oversized file.
- 3
Repair the mesh
Run a repair pass to close holes, remove non-manifold edges and correct inverted normals.
- 4
Orient for strength
Rotate the part so layer lines run perpendicular to the main load direction.
- 5
Slice and preview
Inspect the layer preview for gaps, unnecessary supports and thin unsupported spans.
Expected result
A sliced file whose preview matches the intended geometry with no missing walls.
Troubleshooting
| Problem | How to fix it |
|---|---|
| Slicer reports non-manifold geometry | Repair the mesh again and re-export from CAD with a finer tolerance. |
| Part fails at a layer line | Reorient the part or increase perimeter count. |
Final checklist
- Watertight mesh
- Wall thickness verified
- Orientation justified
- Layer preview inspected